- Create a DIY lightbox using white poster board and camera settings (Av, f/8, ISO 100) for studio-like, diffused lighting.
- Make custom bokeh shapes by crafting a lens tube with black paper and cut-out shapes to shoot lights creatively.
- Use household items (sandwich bag, saran wrap + vaseline, pantyhose) as cheap filters to achieve hazy, soft-focus effects.
- Build inexpensive flash diffusers and colored filters from film containers and plastic sheets to soften light and add color.
- Create lens flares with a CD and experiment with angles; always try DIY hacks to expand creativity and Instagram-ready shots.
Looking to take better travel photos? Check out these DIY photography hacks.
We’ve all had a case of Instagram envy at one point or another. Just like Buzzfeed, this social app is a dangerous wormhole to get sucked into. Who else has found themselves scrolling down their feed only to get caught up in a loop of follows, views, watching stories, and searching endless travel hashtags? If you’re anything like us, you’re obsessed with Beautiful Destinations, Emmett Sparling, Chris Burkhard, and Chelsea Kauai’s Instagram pages. It’s easy to start the comparison game. How do I get my photos to look that good? What kind of gear do they use? Well, we’re here to tell you that there are some ways to take better photos. Here’s the 411 on some of the best DIY photography hacks.
Here Are Our Favorite Fun DIY Photography Hacks
1. Create Your Own Lightbox
Believe it or not, it’s easier than you think to achieve studio lighting. This is one of our favorite DIY photography hacks. To start out, you will need a large sheet of white paper and some clear tape. A poster board from Target should work just fine. Place your subject directly in front of the paper and switch your DSLR camera to Av mode (aperture to f/8 and the ISO to 100).
Next, it’s time to adjust the composition. Dial in +1 or +2 and test out the shots. Don’t use the flash if you’re going for soft, diffused light. In our opinion, the flash is the last resort. We would much rather shoot in RAW in low lighting and kick up the brightness later in Adobe Lightroom. Even if there are a lot of shadows, don’t crank up the ISO too high. You won’t want all that digital noise (too much grain) in your photos. All in all, you will save a good deal of money on a professional lightbox.
2. Make Your Own Bokeh Shapes
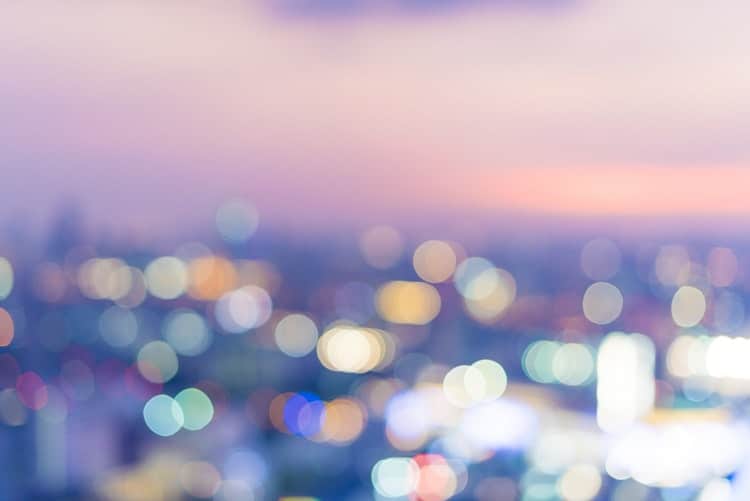
Have you ever heard of the photographer Brandon Woelfel? We’ve been following him on Instagram for years. With a fan base of 2.7 million, it’s safe to say he’s a big name talent. He’s the king of bokeh shots, string lights, and dreamy neon sequences. For your next DIY trick, you’ll be creating your own bokeh shapes.
You will need a DSLR camera, a lens with a small aperture (F-stop), and a little bit of knowledge about bokeh. Here are all the things you will need for this hack:
- Black piece of paper
- Pencil
- Scissors
- Duct tape
- Craft knife to make different shapes
Alright, now that you have your materials, it’s time to move along. Start out by making a tube for your lens. Make sure it fits nicely and connect it. On the other end of the tube, attach the shape you drew and cut out with your craft knife. Then, use the manual setting on your camera and shoot towards the light source with your bokeh filter on. Adjust your focus ring to get the desired bokeh look.
3. Use a Plastic Sandwich Bag to Make Photos Hazy
Seeking out more of that soft, diffused light? Here is another one of our favorite DIY photography hacks. Wrap the sandwich bag over the lens of your camera; you can secure it in place with rubber bands. It’s important to make sure parts of the bag obstruct the lens. This will give your photos a much softer, hazier look.
4. Make a Soft Focus Lens
We’re in love with those subtly blurred shots. It’s easy to just walk around and snap a shot. When you’re traveling, try to get different shots. Instead of just pointing your camera at Half Dome in Yosemite and snapping a shot, try hiking a way up and taking it from a different angle. Use a soft focus to frame one aspect of your photo.
So how do you make a soft focus lens? We’ll tell you. First, get a large, clear piece of plastic saran wrap, a rubber band, and some vaseline. Does this sound odd? Sure, but hang in there. We have a point. Attach the plastic over the lens of your camera and secure the rubber band. After the plastic is in place, smear a little vaseline on the plastic covering the lens. This will give you a soft lens focus. The savings are invaluable and the photos you get from it will be so unique. It’s priceless.
5. Make Your Own Flash Diffuser
If you must use the flash, make your own diffuser. For this one of the DIY photography hacks, you will need the following craft items:
- A camera with a pop-up flash (DSLR preferred)
- White film container
- Ruler
- Sharp blade
First, measure the thickness of the pop-up flash. Then, you will cut a piece from the white plastic film container to cover the flash and match its thickness. Insert the film container into the pop-up flash. Once you have all of your items in place, you can begin to play around with your camera and take some shots. The film container will diffuse the flash so the lighting always looks soft and subtle instead of harsh. You’ll save a good amount of cash from buying a diffuser.
6. Make Your Own Colored Lens Filters
When you’re getting bored, it’s time to mix up your shots with a little splash of color. This is one of our favorite fun DIY photography hacks. Have you ever made your own colored lenses before? While most colored lenses are somewhat affordable to purchase, making your own gives you more control as to what type of image you will create and what shots you would like to achieve. For this little project, you’ll need a piece of paper, scissors, a plastic sheet, and a short piece of string.
Take your lens cap and place it on a piece of paper. Use a marker and trace around your lens cap. Then, draw a small, box-shaped extension to the circle. Cut out the shape you drew. Next, take this shape and place it on a clear, plastic sheet, tracing the same way you did on the paper and cut it out. Draw your own designs on the plastic sheet using whatever colors you want. Now, it’s time to attach the piece to your camera. Pinch a hole in the box-shaped square and use a string to connect them to your camera.
7. Create Lens Flares
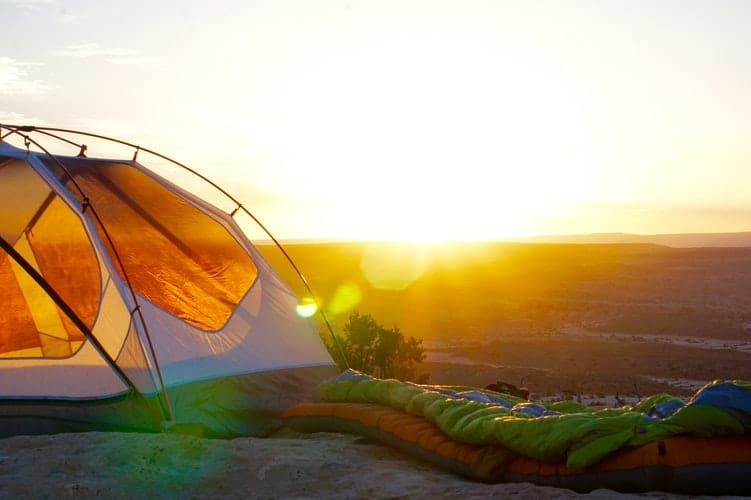
We’ve all seen it – those warm shots of the sun tucking behind the clouds. A surfer stands to rest on his board stuck in the sand. Overhead is a golden lens flare, adding just the right touch to the scene. How do the best photographers do it? Most of the time, you can create what you want in an image. One of the most fun DIY photography hacks is making lens flares. Here’s how to do it.
This could be the easiest hack on the list yet. Bring your DSLR camera and a cd. Make sure you’ve removed the lens hood before attempting (lens hoods are designed to prevent flare). Try using the cd at different angles to get some of the reflected light in the lens. To make it a little easier on yourself, you can also look through the viewfinder and shoot when you see flares intensify for different angles and placement.
8. Make a DIY Soft Filter with Pantyhose
Here is another one of those super simple DIY photography hacks. All you will need for this one is a rubber band, some nylon pantyhose (nude or black is recommended), and of course your camera. Pull the pantyhose over the lens and tie on it tightly and securely. If you need it to fit more snugly around the lens, use the rubber band. Black nylons give off a thin veil. Nude or white-colored pantyhose create a neutral-color softening effect. We love the subtle haziness it adds to photos.
It’s Time to Try Out These Fun DIY Photography Hacks
Whether you’re new to the world of photography or you’re a seasoned pro, it’s fun to mix up your shots every now and then with some DIY photography hacks. These simple tips help you to stretch your creative limits and produce images you won’t see every day on Instagram.
When you’re stuck and need some inspiration, there are plenty of tools out there to help. Make a mood board for the type of photos you like on Pinterest. Invest in a good camera strap and tripod. Get Henry Carroll’s book Read This if You Want to Take Better Photos. Start testing out these tips and you will be surprised at what you can create. Even if you don't have a camera, you can use your iPhone to get some good shots. We've got some tips for you. Do you have any favorite DIY photography hacks that weren’t included on our list? We’d love to hear them. Feel free to leave us a message in the comment section below.
Related Article: Best Travel Cameras For The Adventurous Photographer


